by Avantix Learning Team | Updated June 15, 2023
Applies to: Microsoft ® Word ® 2016, 2019, 2021 and 365 (Windows)
You can center or align text vertically in cells in a Word table using commands in the Table Design or Table Tools Design tab in the Ribbon. If the text doesn't seem to align correctly, there are several common issues that may be affecting the alignment including extra blank paragraphs, paragraph spacing and cell margins.
Note: Buttons and Ribbon tabs may display in a different way (with or without text) depending on your version of Word, the size of your screen and your Control Panel settings. For newer versions of Word, Ribbon tabs may appear with different names. For example, the Table Tools Design tab may appear as Table Design.
Do you want to learn more about Microsoft Word? Check out our virtual classroom or in-person classroom Word courses >
When you are working with tables, it's a good idea to turn gridlines on. Borders, which are a format, will print. Gridlines do not print.
To display gridlines in Word:
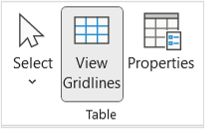
View Gridlines appears on the Table Layout or Table Tools Layout tab when you click in a table:
To center or align text vertically in table cells:
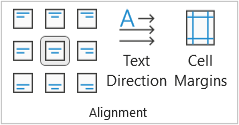
You can click the following alignment options in the Alignment group to apply vertical alignment:
The Alignment commands appear in the Alignment group in the Table Layout or Table Tools Layout tab in the Ribbon:
To center or align text vertically in table cells using Word's Table Properties:
If the text does not appear to center vertically, a common issue is unnecessary blank paragraphs (extra returns).
To view and remove extra blank paragraphs in a table:
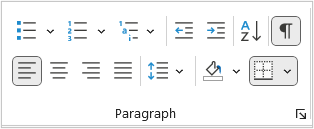
Show / Hide Paragraph Marks appears in the Paragraph group in the Home tab in the Ribbon:
If a user has manually changed line spacing or changed paragraph spacing in the Normal style (which is used by default as the base style for tables), this can result in issues with vertical alignment in a table.
To change line spacing in a table:
The Paragraph dialog box appears as follows:
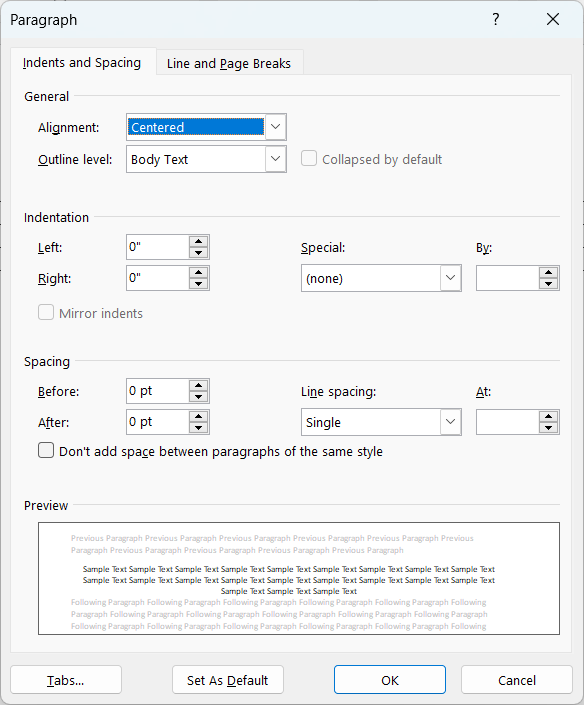
By default, Word bases table styles on the Normal style. Currently, In Word 2016 and later versions, the default Normal style is set to 1.08 Line spacing (in inches if you are working in inches) with a Space After of 8 points. When you create a table and apply a table style, Word changes the Line spacing to single and the Space Before and After to 0. In this case, vertical alignment should work correctly. However, if you change the Normal style's Line spacing or Space Before and / or After settings, vertical alignment would be affected by the paragraph spacing changes and text may not appear to align vertically as expected.
Because of this issue (and for other reasons relating to the "Based on" concept), it's best to change only the font and size in the Normal style and use another style such as Body Text to apply paragraph spacing to body paragraphs. Ideally, the font should be changed by changing the Font Theme.
Another less common issue is cell margins. If cell margins have been changed, text may not appear to center or align vertically as expected.
To change cell margins for a table:
Cell Margins appears in the Alignment group in the Table Layout or Table Tools Layout tab in the Ribbon:

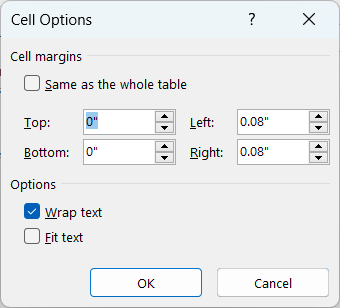
To change cell margins for specific cells in a table:
The Cell Options dialog box appears as follows:
You may want to consider creating or modifying a table style to apply table formatting.
To learn more about working with table styles, check out the article How to Format Microsoft Word Tables Using Table Styles (Ultimate Guide).
If you are still not able to align text vertically in a table, you may have merged cells and you may need to unmerge them.
Did you find this article helpful? If you would like to receive new articles, JOIN our email list.